Client Self Scheduling: common issues
Clients not able to self-schedule in the portal? Not sure where to look?
If you client tells you that they are in the client portal and are not allowed to schedule, it's usually because one of these settings to allow for client self-scheduling is misconfigured. Not to worry, it's an easy fix!
There are three different areas in your settings to double check:
In this Article:
- Client Portal Settings
- CPT Codes
- Schedule Availability
- Example of a Client Self Scheduling an Appointment
Review your Client Portal Settings
First off, you'll want to configure your settings for if clients are allowed to schedule online, with further granular settings based on client status.
To access this, go to:
- My Profile (left menu)
- Practice Settings (left menu)
- Staff (top tab)
- Click on the provider's name, loading their Profile
- Find the section Client Portal Settings
- Find the sub-section Online Scheduling (the last sub-section, there are 4 total)
- Ensure first that "Allow clients to schedule online?" is set to Yes
- To make any changes, click the button at the top right of the section
- Additionally, here you can review allowing new, active, or inactive clients to self-schedule
- Self-scheduling is based on client status from the client profile, for more info click here
- Make your changes and click at the bottom

CPT Codes
This will tell the system which services the client can sign up for (we add an option "I don't know" additionally they can chose).
To review these, go to:
- Practice Settings (left menu)
- Billing & Insurance (top tab)
- Find the top section CPT Codes
- To the right of CPT Codes, click Set Up:

- You're then brought to the CPT codes screen, where you can make adjustments:

For a brief rundown:
- Active means it's available for your providers to use and schedule/bill clients with
- Online Scheduling means that this CPT code can be used by client to self-schedule an appointment
- Telehealth Enabled is an additional column option for integrated telehealth users, allowing further customization as to whether or not that CPT code can be scheduled for a telehealth specific appointment type (requires telehealth add-on)
- Once complete, scroll to the bottom and click
Is your provider not using the practice defaults?
- Just under the CPT Codes section you'll find a section titled Therapist-Specific CPT Codes
- Find the provider you wish to edit
- If they're using their own set of CPT Codes, in green it will say using custom codes
- Click to the right of their name, and use the above steps to configure:

Schedule Availability
This part adjusts which time slots clients can self-schedule in. To access this, go to:
- Schedule (left menu)
- Edit Availability (right menu)
- If availability is already set up, you should see a preview:

- Click on an individual availability section on the left
- This will then display the options for that section to the right
- The most important thing is to ensure Allow Clients to Schedule Online is checked
We also show a quick "heads up" view of each availability time slot with icons, explained below:

language Means clients can self schedule (in general)
domain Means clients can self schedule in person *
videocam Means clients can self schedule telehealth *
* = Requires telehealth add-on: Standard Integrated - or - Integrated Zoom
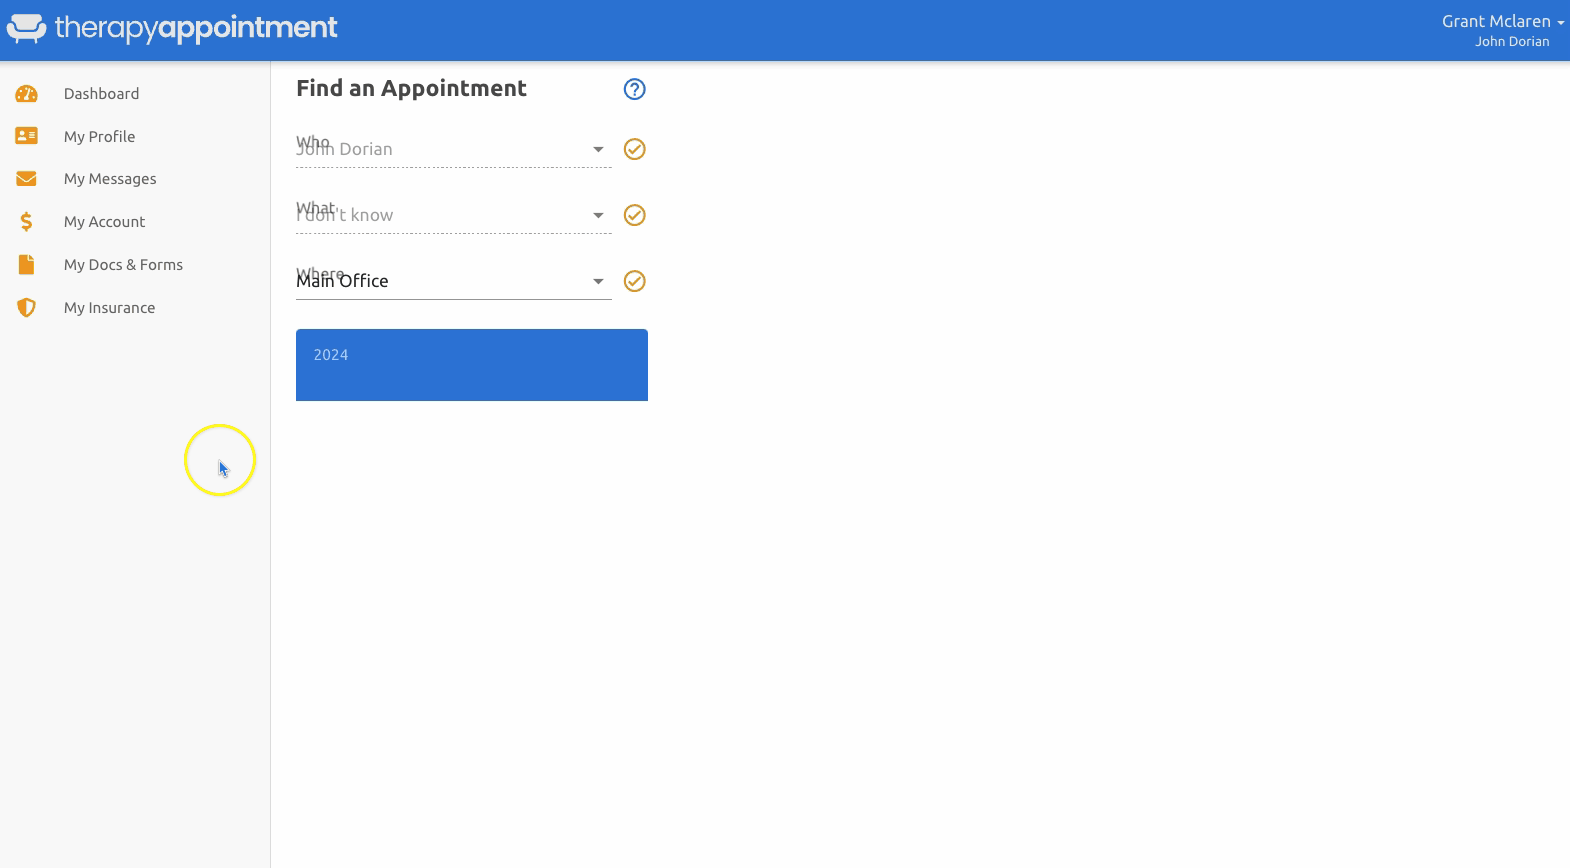
Example of a Client Self Scheduling an Appointment: